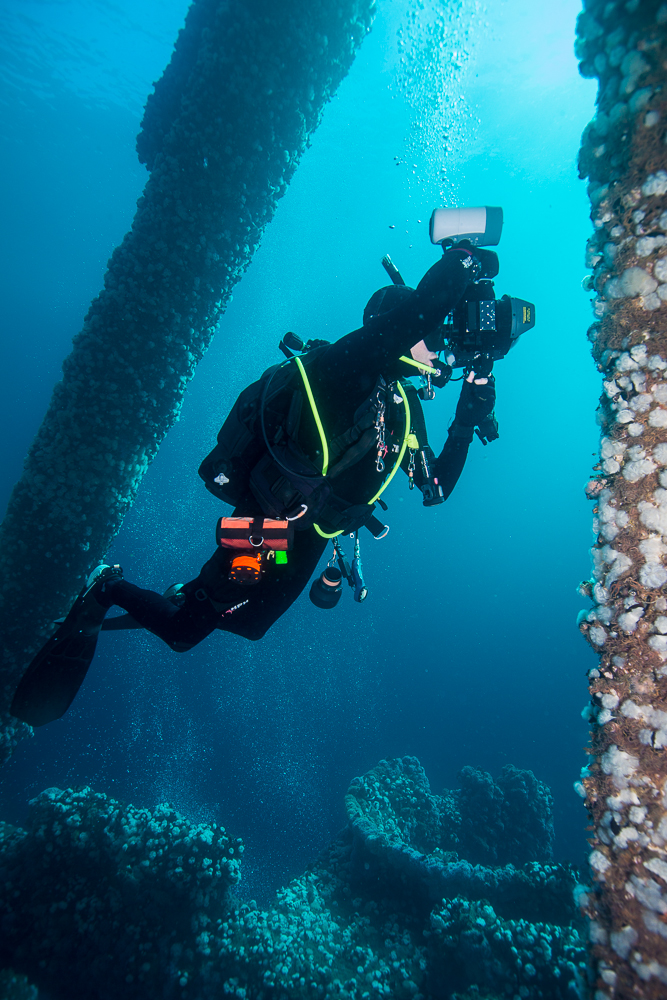
Dive down, swim around, and come back up. Sounds easy enough, right? Well, that's pretty much how my dives were before I was introduced to the wonderful world of underwater photography. It's not quite that straight-forward these days. Don't get me wrong. The fact that I have the opportunity to pursue this passion is one that I appreciate every time I dip below the surface.
My goal here is to give you a glimpse into what is involved in capturing a photo underwater. Today we'll be taking a journey to one of my favorite dive sites; the oil rigs which are just offshore of Huntington Beach, California.
My first priority is prepping the camera. After charging the batteries for the camera and strobes (flashes), I begin by assembling the camera in the underwater housing. My particular housing (Sea & Sea) is made from a solid block of aluminum, and it's made specifically for my Nikon D7000 dSLR camera. It is made waterproof to 330 feet thanks in part to a series of o-rings. Once I've checked the integrity of the o-rings, assembled the housing, and attached the strobes, I'll take a test shot to ensure the system is working properly.
Then it's off the garage to put together my scuba gear (aka life support). I don't take this task lightly, and check to make sure every component of my equipment is working correctly. A few days before the trip, I take my cylinders to my local dive shop (Ocean Gear) to get filled with either air or nitrox (a gas mixture containing more oxygen than air (>21%)). The gas mixture I choose to use is based on the planned dive sites, and the maximum depth to which I'll be going.
Like assembling my housing, it takes about 20 minutes to put my scuba gear together. This includes, but is not limited to, my wetsuit, mask, fins, gloves, tank, regulator, and weights.
Ok, so after prepping my camera and scuba gear the night before the trip, I've made it to the boat, and we make our way a few miles out to the oil rigs. My buddy Todd Winner and I head down to the depths and look for cool structure and critters to photograph.
 |
| With camera in-hand, I'm about to hop in for dive #2. Photo courtesy of Todd Winner. |
 |
| My buddy Todd photographs me as I'm composing the shot you see below. |
Once I have the settings dialed-in, I wait patiently until the right moment to capture the image I have envisioned. In this case, I wait until this female sheephead is in front of the camera and will be lit up by my strobe light.
 |
| The finished product. This image was captured at 80 feet below the surface of the ocean. The structure I'm photographing leads you all the way up to the surface. |
This was just one of many images I captured that day, and I've shared a few more below. I certainly hope you enjoyed this sneak peek behind-the-scenes as to what goes into creating an image underwater. Drop me a line if you have any questions!
Special thanks to Captain Kyaa at Selky Charters for a great day of diving!
More images from the oil rigs
 |
| A large Metridium (plumose) anemone growing at 110 fsw. Looking up through the opening you can see the other side of the structure in the distance. |
 |
| The sea lions decided to come out and play when I had only five minutes of air left. Gee thanks. |
 |
| A giant-spined sea star clings to a piling covered with anemones, brittle stars, and mussels. The yellow beams are support beams for the oil rig above the surface. |


No comments:
Post a Comment